
- Home
- /
- Article

Enable calendar meetings on 9800/8875 (Unified CM)
 In this article
This Help article is for Cisco Desk Phone 9800 Series and Cisco Video Phone 8875 registered to Cisco Unified Communications Manager or Cisco Webex Dedicated Instance (Webex DI).
Set up the calendar service
After you enable the calendar service and choose a cloud service on Unified CM, the softkey Calendar will display on the phone screen. With the softkey, users can scan a QR code to sign in to the calendar service. After the sign-in is successful, the users can directly join various types of meetings on the phone.
After the calendar service configuration is finished, the phone will try to retrieve the calendar items and relevant meeting links (SIP URLs). Only when the SIP URIs for the supported meeting types are identified, the phone can recognize the meeting types. As a result, the softkey Join will display on the calendar item. Then user can select the softkey to join a meeting from the calendar list.
- Currently, only the English language is supported for this feature.
- If you choose "Microsoft" as the cloud service for the calendar meeting, the calendar service only supports the Microsoft Office 365 Calendar. The Microsoft Exchange Calendar is not supported. In addition, the user must have a Microsoft account to sign in to the calendar service.
- If you choose "Webex" as the cloud service for the calendar meeting, the user must have a Webex account to sign in to the calendar service.
Before you begin
| 1 |
Do one of the following actions from Cisco Unified CM Administration:
|
| 2 |
Ensure that CUCM can dial external SIP URI calls with SIP and expressway setup. |
| 3 |
Set the following fields:
|
| 4 |
Click Save. After the configuration, you can see the Calendar softkey or soft button on the phone screen, depending on your phone model.
|
| 5 |
If you choose Webex as the cloud service in Step 3, make sure the phone can access the following services via the HTTPS protocol (port 443):
|
| 6 |
If you choose Microsoft as the cloud service in Step 3, perform the following actions: |
Authorize the OBTP application in Entra ID
To authorize the Cisco Phone OBTP application in Microsoft Entra ID, you can use one of the methods according to the Microsoft Entra role:
- The role has admin permissions in Entra ID.
- The role doesn't have admin permissions in Entra ID.
Enable the OBTP application by using a role that has admin permissions in Entra ID
You can provide the user with an account that has the admin permissions in Entra ID. The admin role can manage applications in the Enterprise Applications Catalog of Entra ID.
By using the account with the admin privileges, the user can directly sign in to the OBTP application on the phone. For example:
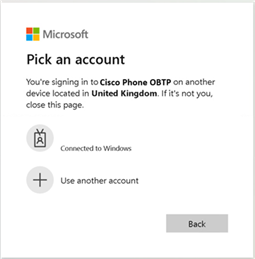
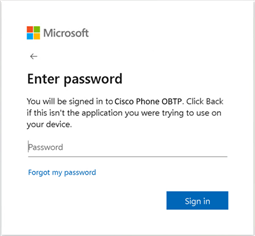
Use the provided account to sign in to the OBTP application:
When the users sign in to the OBTP application at the first time, typically they will be prompted to accept the permissions request for the application integration on the phone. For example:
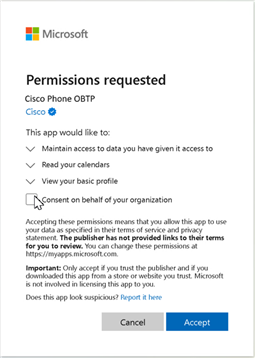
If you want to avoid the permissions request for the users, ensure that the Entra ID is configured to provide the requested permissions on behalf of your organization. For example:
The configuration in Microsoft Entra is out of scope of this article. For more information, see Quickstart: Add an enterprise application.
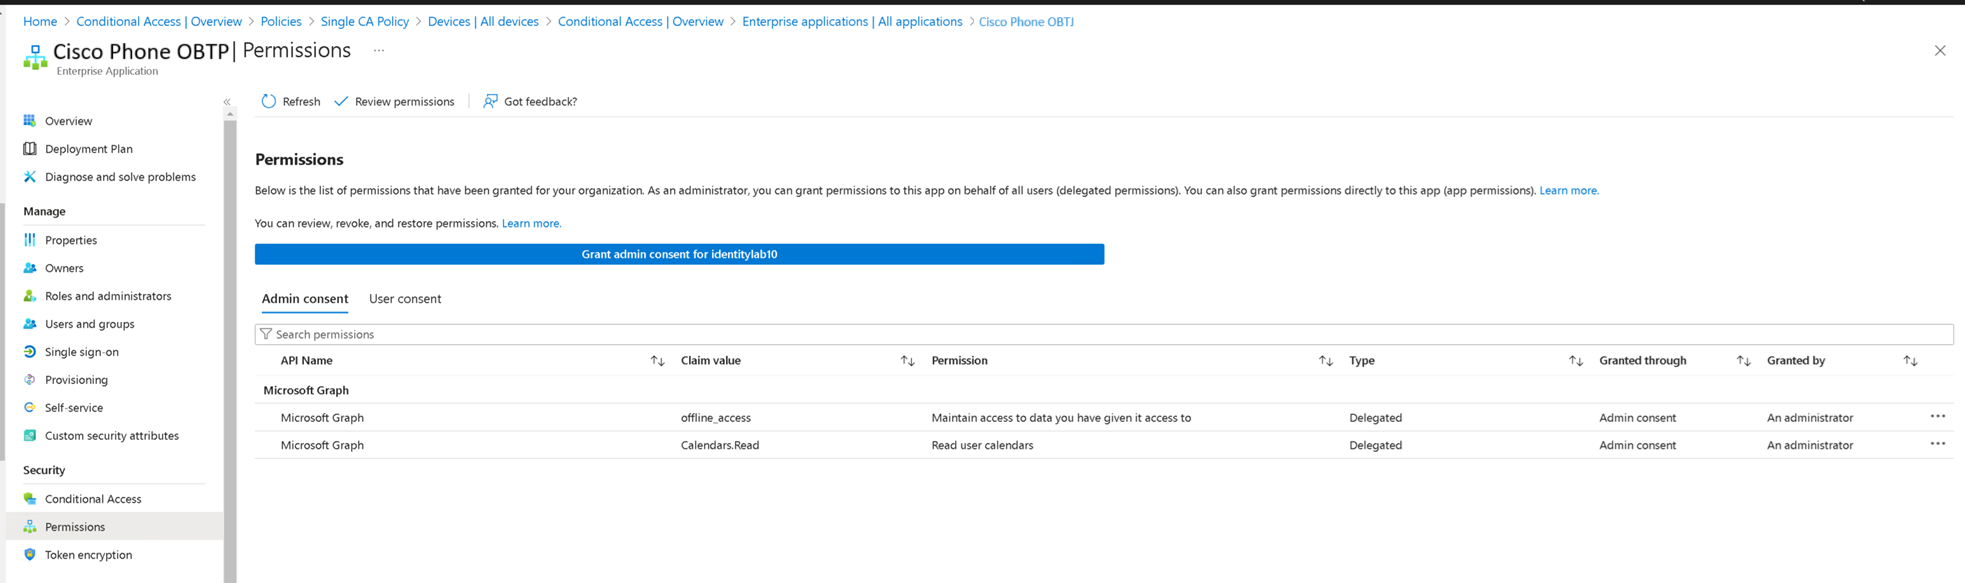
As the administrator of the Entra ID, you can find the application (for example, "Cisco Phone OBTP") in Entra ID Enterprise applications catalog. The navigation path is: .
Enable the OBTP service by using a role that doesn't have admin permissions in Entra ID
If you don't have the admin permissions in Entra ID, you need to provide the following URL to the Microsoft Entra administrators for support, so they can authorize the calendar service integration on behalf of the users. The Entra administrators will also create the application (for example, "Cisco Phone OBTP") in Entra ID applications catalog.
After the Entra ID administrators approve the OBTP service for the associated Microsoft Tenant, the users can sign in to the Calendar service on the phone.


